
Oil Tank Installation Lowell MA
Struggling with an Old, Leaky Oil Tank? Here’s Why Upgrading Makes Financial and Safety Sense
An aging oil tank does more than just put your home heating system at risk. Old tanks are prone to leaks, rust, and sludge buildup, leading to fuel contamination, heating inefficiencies, and even expensive property damage. Worse, oil leaks can cause environmental hazards and void your home insurance coverage.
Many homeowners in Lowell MA keep using outdated oil tanks far past their safe lifespan—risking costly cleanup bills that can reach $20,000 to $100,000 after soil contamination. Older tanks can also clog your furnace, reduce heating efficiency, and drive up monthly heating costs without you realizing it.
Installing a new, efficient, and code-compliant oil tank guarantees peace of mind. You’ll enjoy lower energy bills, cleaner fuel supply, and safe, reliable home heating for up to 30 years.
The True Benefits of a New Oil Tank Installation in Lowell MA
✔️
Improved Heating Efficiency
✔️
Reduced Risk of Costly Leaks
✔️
Compliance with Massachusetts Safety Codes
✔️
Extended Tank Lifespan of 20-30 Years
✔️
Potential Discounts on Home Insurance
✔️
Better Fuel Management and Cleaner Lines
At Quality Oil Tank Replacement, we help Lowell MA homeowners replace outdated tanks with safer, high-efficiency systems—backed by professional installation and full local code compliance.
What’s Included in Our Professional Oil Tank Installation Service
✅ Free In-Home Consultation
Our certified technicians conduct a thorough inspection of your old system, recommend the best replacement options, and provide a
transparent, fixed quote before starting any work.
Get a free quote
Oil tank installation pg.
✅ Old Tank Removal & Disposal
We safely remove your old tank, including pumping out residual oil, cutting and sealing pipes, and disposing of hazardous materials following Massachusetts environmental guidelines.
✅ Precision Tank Setup
We install industry-trusted Granby or Roth oil tanks, ensuring optimal positioning for safety, accessibility, and efficiency. All tanks come with leak detection and corrosion protection features.
✅ Full Piping & Fuel Line Installation
From vent lines to fill pipes, every component is installed using precision threading and sealing, preventing leaks and maximizing system performance.
✅ Complete System Testing
Before we finish, we run full diagnostics to ensure zero leaks, proper fuel flow, and smooth furnace operation.
Why Choose Us for Oil Tank Installation Lowell MA
- Licensed & Insured
- Over 20 Years of Local Experience
- Granby & Roth Certified Installers
- Fast Same-Day or Next-Day Installations
- Upfront Pricing—No Hidden Costs
- All Permits & Code Inspections Handled by Us
We’re trusted by hundreds of Lowell homeowners because of our quality craftsmanship, competitive pricing, and commitment to safety.
The Step-by-Step Process of Oil Tank Installation in Lowell MA
1. Initial Assessment & Quotation
We inspect your existing setup, evaluate tank positioning, and provide a clear quote.
2. Old Tank Preparation & Removal
All fuel is safely pumped out; old lines capped; the tank is removed following environmental best practices.
3. New Tank Setup & Leveling
The new tank is securely positioned, leveled with proper footing, and set up for optimal gravity flow.
4. Fuel Line & Vent Pipe Installation
We use precision pipe cutting tools to fit new fill and vent lines, ensuring secure, leak-free connections.
5. Furnace Line Hookup & Testing
Dip tubes, gauges, and filters are installed and tested. We run the heating system to verify pressure, fuel flow, and efficiency.
6. Final Inspection & Cleanup
After a thorough safety check, we remove all debris, leaving your space clean and safe.
| Service Description | Average Cost Range |
|---|---|
| 275 Gallon Standard Install | $2,950 – $3,400 |
| Roth Double-Wall Installation | $3,700 – $4,500 |
| Granby Double-Wall Tank Installation | $3,500 – $4,200 |
| Tank Removal & Disposal Included | ✅ |
| Permits & Local Inspections Included | ✅ |
Considering new oil tank installation for your home gives you a clearer perspective of what you're getting in terms of heating. Your furnace will be better protected if you invest in a new oil tank. As long as you're using a new oil tank, you won't have to worry about sludge seeping into your oil lines. No more leaks or holes in the future, and you won't have to cope with an expensive poisonous rupture in the near future when deciding on a new tank installation. There are several frequent issues with older tanks, including unstable legs, clogging, and degraded tubing that is expensive to solve. New tanks will operate at their full capacity, resulting in maximum efficiency. With a new oil tank installation, you could also save money on your monthly utility costs by reducing the amount of energy you use. Since a new oil tank installation can last up to two decades with proper maintenance, you won't need to invest a lot of money on an oil heat tank when you install a new system.
Oil Tank Installation Preparations
Preparation of a new oil tank is critical. Removing all of the New Oil Tank knockouts in each tank opening is crucial. The new tank's bottom outlet must be fitted with a cap before oil lines can be run from the tank's top. Even if the bottom outlet is not to be used, the tank should be configured to slope 1/4" per foot down or away from the bottom outlet, even if the tank feet are completed and placed and the tank is leveled. Because the bottom flanges prevent the tank feet from cutting into or damaging the oil tank tub, they are critical. After the oil tank is upright and in place, the tank's top fittings are fitted.
Oil Tank Installation Position
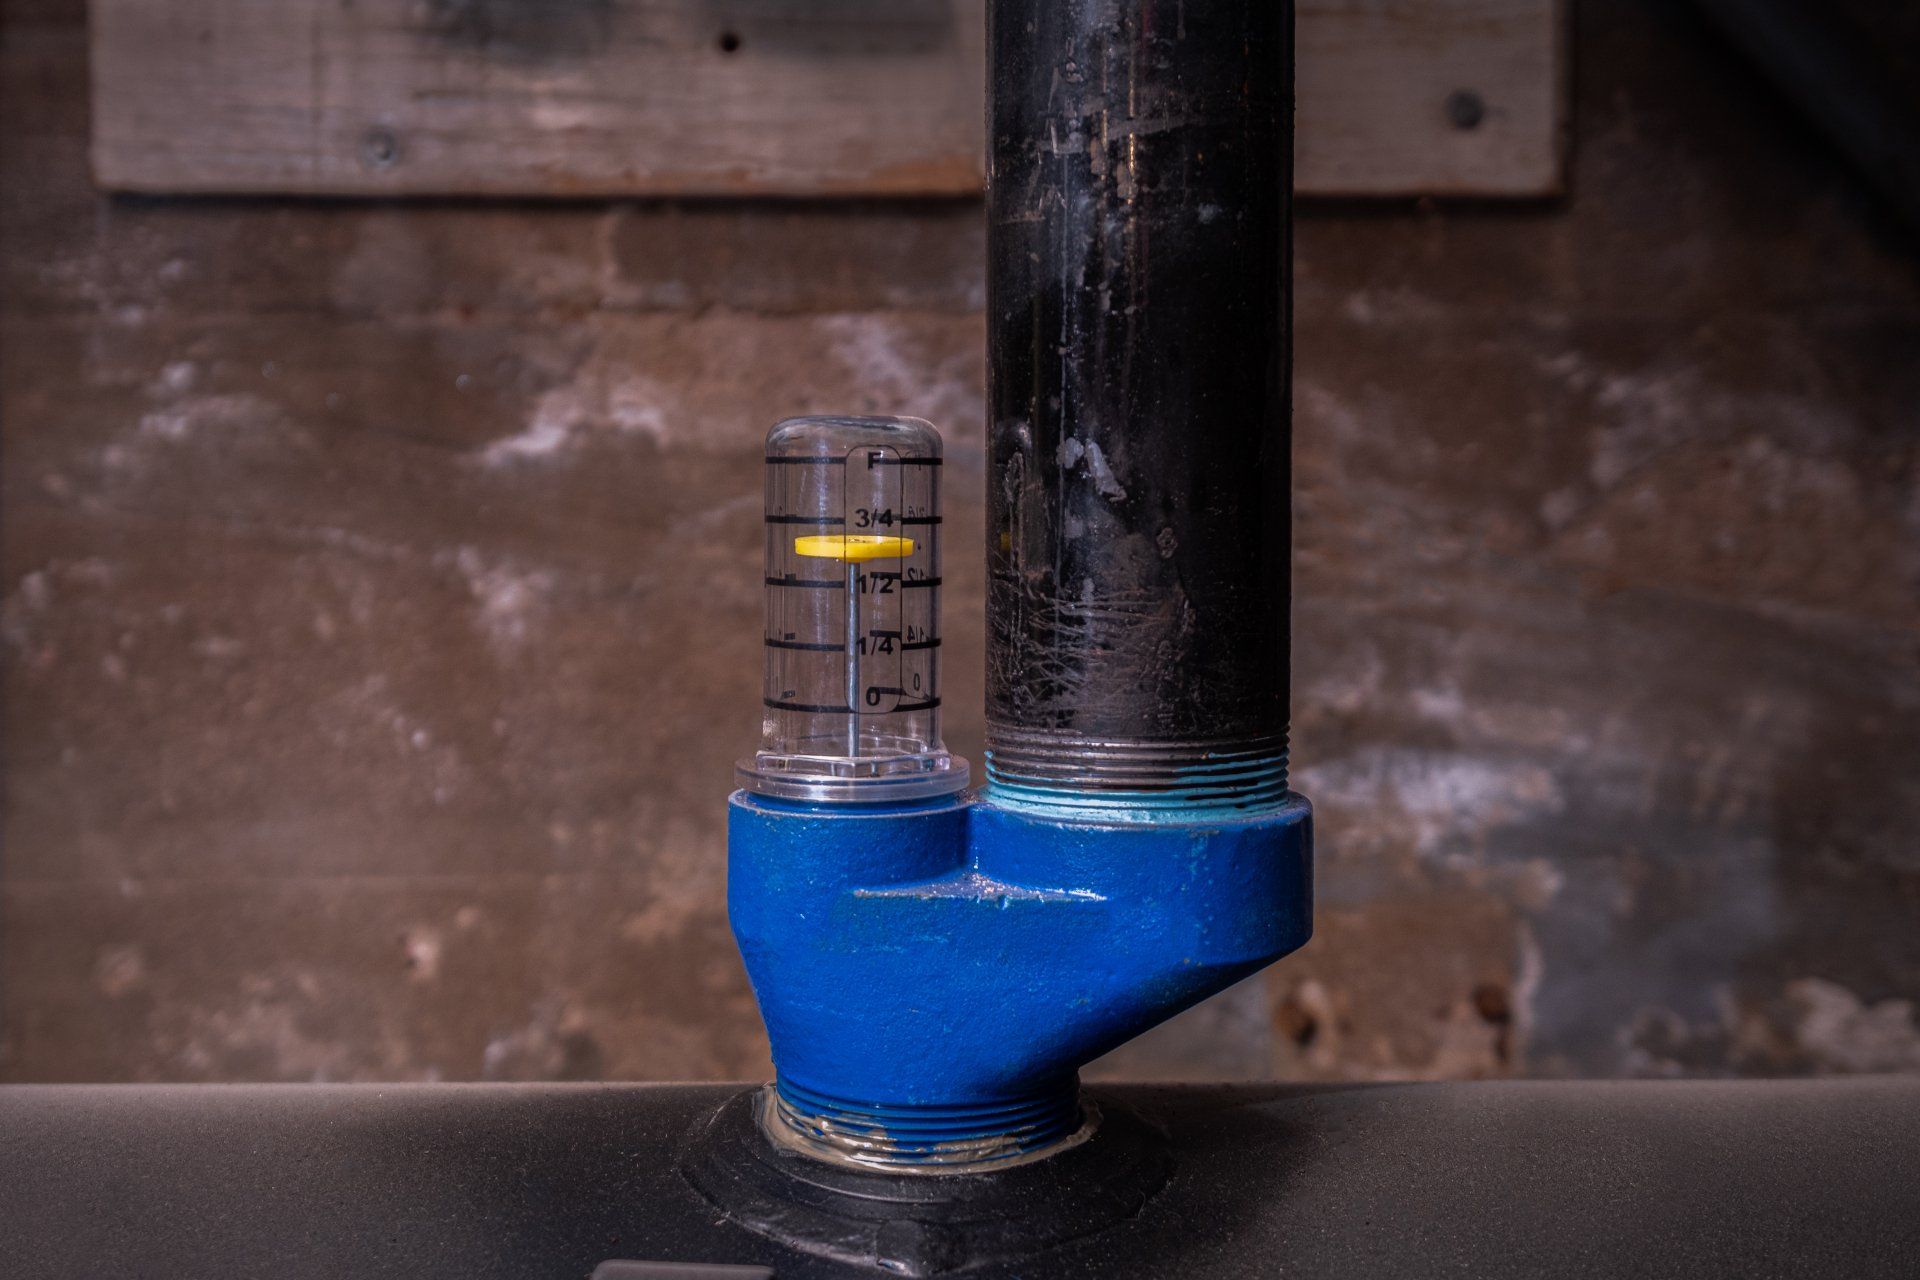
Using heavy cardboard, our technicians move the footed, bottom-plugged, and leveled oil tank into the oil tank containment container. After this, we bring the oil tank into place, then slide the tanks left or right to line up with existing oil tank fill or vent ports once we have evaluated the safe distances from your building walls. Having the oil tank in place, it's time to combine the installation of the oil tank gauge and the Vent Alarm. Keeping the oil tank gauge rods in a folded position prevents the gauge from being damaged as it is inserted and fastened into the tank's top tap. The Scully gauge and alarm assembly are tightened into position after the gauge and alarm are hand-threaded into the oil tank vent line.
Piping Installation
It is critical that the dip tube be installed about 2 inches above the bottom of the oil tank to avoid pulling sludge or water into the oil supply to the oil burner during installation. When installing a new oil tank, our team is proud to adhere to all industry regulations. The tank vent is designed to pass through a higher gap in the wall, while the tank tap is supplied with an oil pick-up/distribution line connection. We use a mounted pipe cutting and threading tool, this allows us to get the exact lengths of fill and vent pipes we require. Additionally, new fill and vent pipes will be routed through the wall in the same places as the old ones.
Oil Supply Connection
Once the plumbing is done, the oil supply and return lines to the fuel unit on the oil burner can be connected. Oil burner operation, noise, smoothness, and cleanliness, and a series of checks of the oil pipes and all fittings are done to ensure they are not leaking. Oil burner filter cartridges and fuel unit screens are also replaced as part of our service. These are just some of the elements our team takes great care of to ensure your oil tank installation is done to perfection. We do not believe in cutting any corners when it comes to oil tank installations, and this is one of the main reasons we are known as one of the most reliable and trustworthy Oil tank installers in the state.
🔗Explore More Oil Tank Services
●🛠️Oil Tank Replacement Cost Lowell MA
●🛠️Oil Tank Installation Lowell MA
●🛠️Oil Tank Removal Lowell MA
●🛠️Granby Oil Tank Lowell MA
●🛠️Roth Oil Tank Lowell MA
●🛠️Oil Tank Replacement Lowell MA
Frequently Asked Questions – Oil Tank Installation Lowell MA
How long does it take to install a new oil tank in Lowell MA?
Most installations are completed in one day, typically within 4 to 6 hours including removal, installation, and testing.
Do I need a permit for oil tank installation?
Yes, in Lowell MA, permits are required by law. We handle all permits and code inspections for you.
Can I replace my basement oil tank with an outdoor tank?
Absolutely. We offer customized solutions for both indoor and outdoor oil tank installations with all necessary weatherproofing options.
Is Roth or Granby better for my home?
Roth tanks offer best-in-class leak protection and a 30-year warranty, making them ideal for long-term peace of mind. Granby tanks offer excellent durability at a more affordable price point. We’ll help you choose the right option based on your goals and budget.
Will a new oil tank lower my energy bills?
Yes! New oil tanks prevent sludge buildup, improving fuel quality and increasing furnace efficiency, often leading to lower annual heating costs.
Don’t Risk a Costly Leak — Upgrade to a Safe, Energy-Efficient Oil Tank Today
A small investment today saves you from major expenses tomorrow. Protect your home, family, and property value with a professional oil tank installation.
📞
Call
Quality Oil Tank Replacement at
978-622-2344 for a Free Quote Today
✅
Serving Lowell MA with Fast, Affordable, and Guaranteed Oil Tank Installations.